Positioning & LightingUpdated 7 hours ago
For the traditional Eyelighter look, put the reflector and the light each about 30" from your subject's face, with the light at a 45° angle to the Eyelighter 3.
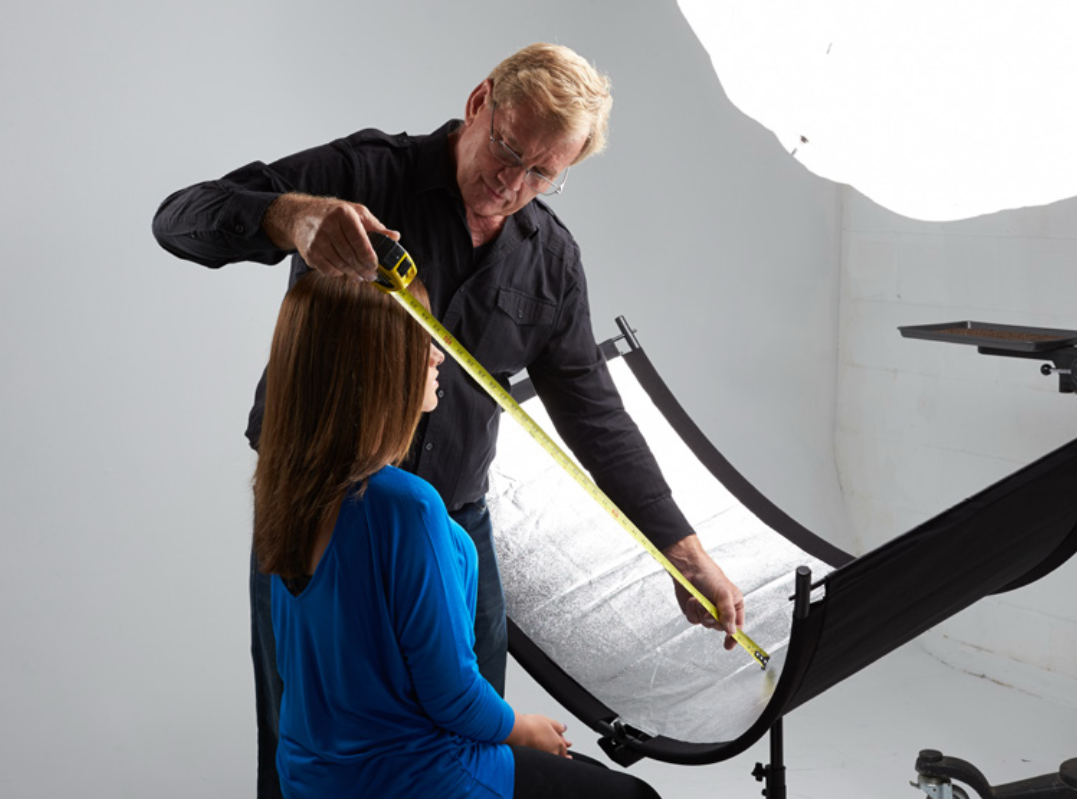
Where should I place the Eyelighter 3 and my light?
Westcott recommends three steps for the traditional result:
- Place the center of the Eyelighter 3 about 30" from your subject's face.
- Aim your light slightly downward, about 30" from your subject, at a 45° angle from the Eyelighter 3.
- Check the eyes: when it's right, your subject has a thin catchlight just below the pupil that follows the curve of the eye.
These are starting points. As you get comfortable with the Eyelighter 3, try other positions that work for your style.
The light points slightly down toward the subject; the Eyelighter 3 curves beneath the face to put a thin catchlight under each pupil.
How do I know the Eyelighter 3 is in the right spot?
Sit in your model's position and look at the Eyelighter 3: its reflection should be evenly lit from end to end. If one part is brighter than another, move the Eyelighter 3 closer to or farther from the subject until the reflection is even.
What are the signs it's positioned wrong?
In your subject's eyes, the Eyelighter 3 should show up as a narrow curved reflection below the pupil. If the reflection cuts into the pupil, it's in the wrong place.
What light modifier should I use?
Use a modifier big enough to fully light the Eyelighter 3. About 24" is the smallest Westcott suggests. A larger modifier works too, as long as you have enough vertical room to position it at a 45° angle.
What is the tilter for?
The built-in locking tilter lets you set a reflection angle and hold it there. It's most useful when you're working with sunlight or ambient light, or trying different studio lighting styles where the standard 45° setup doesn't apply. Adjust it with the tilter bracket knob on the spine, then retighten to lock the angle.